Getting the Heat Right: A No-Nonsense Guide to Brake Pad Heating Walls
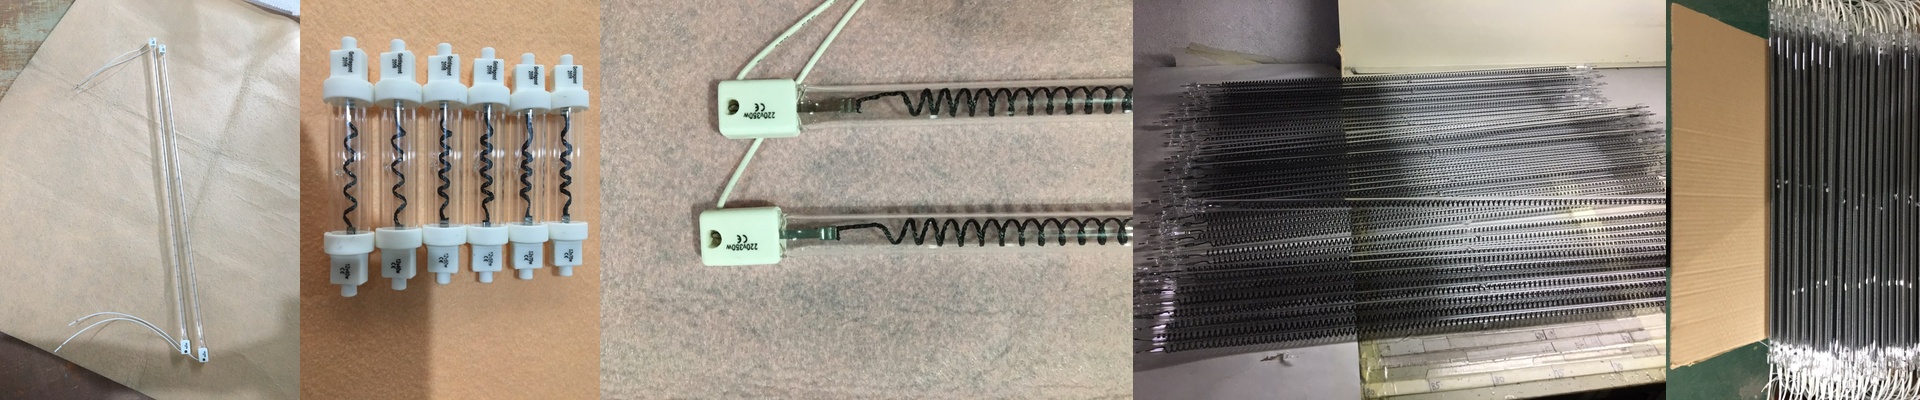
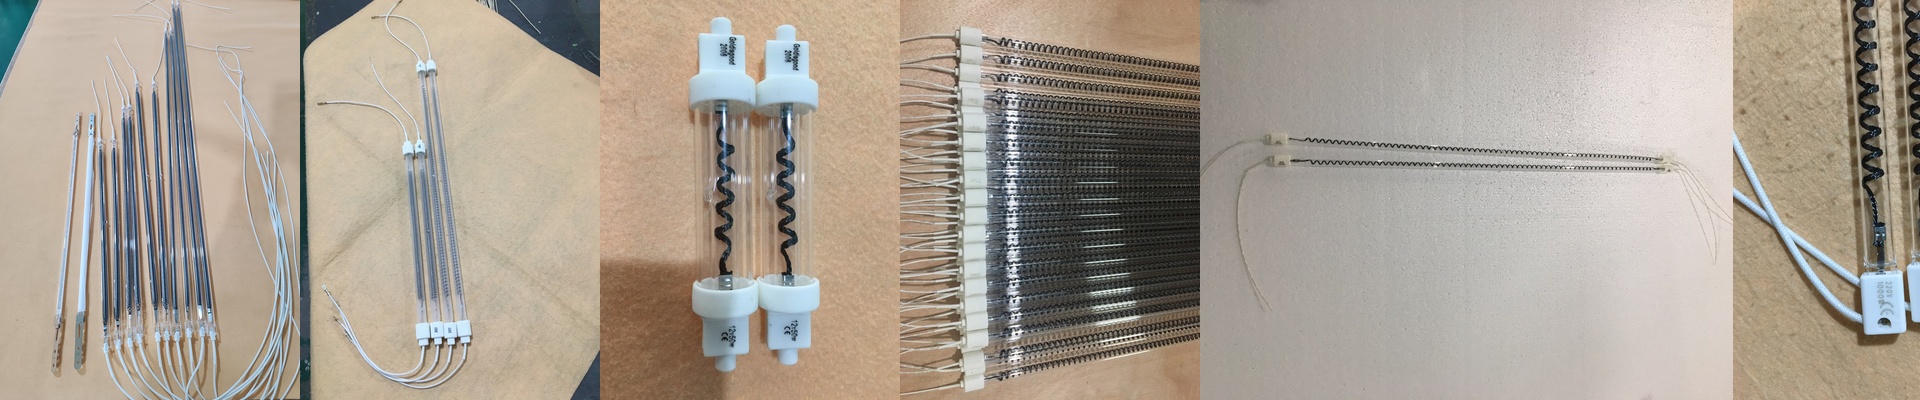
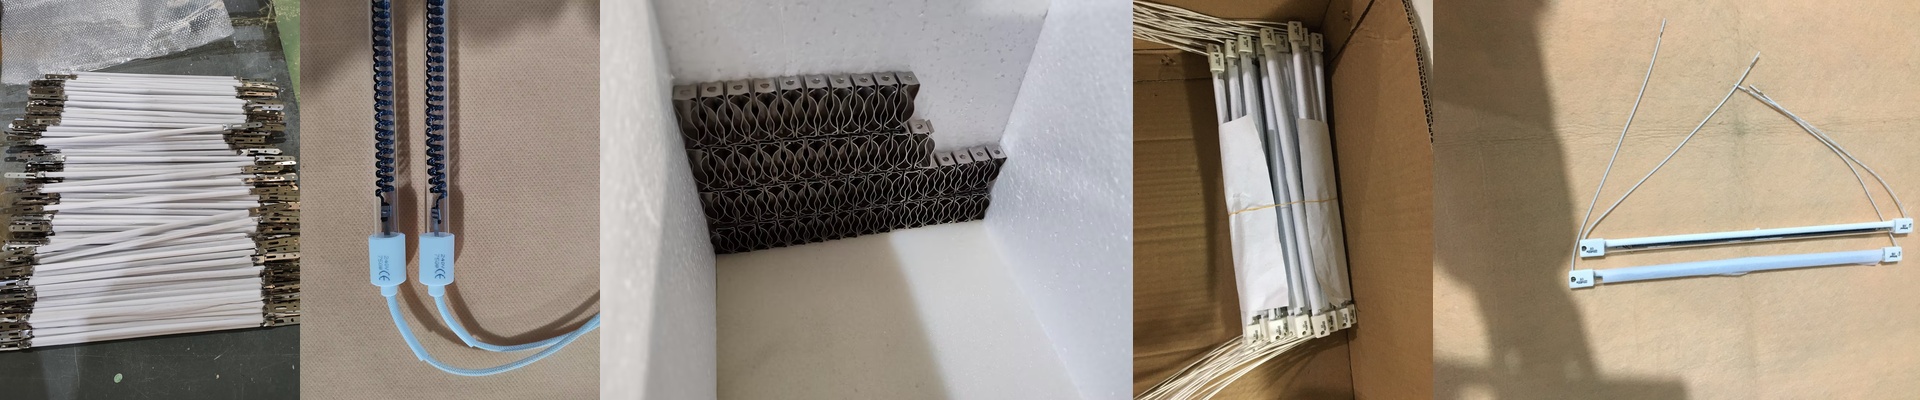
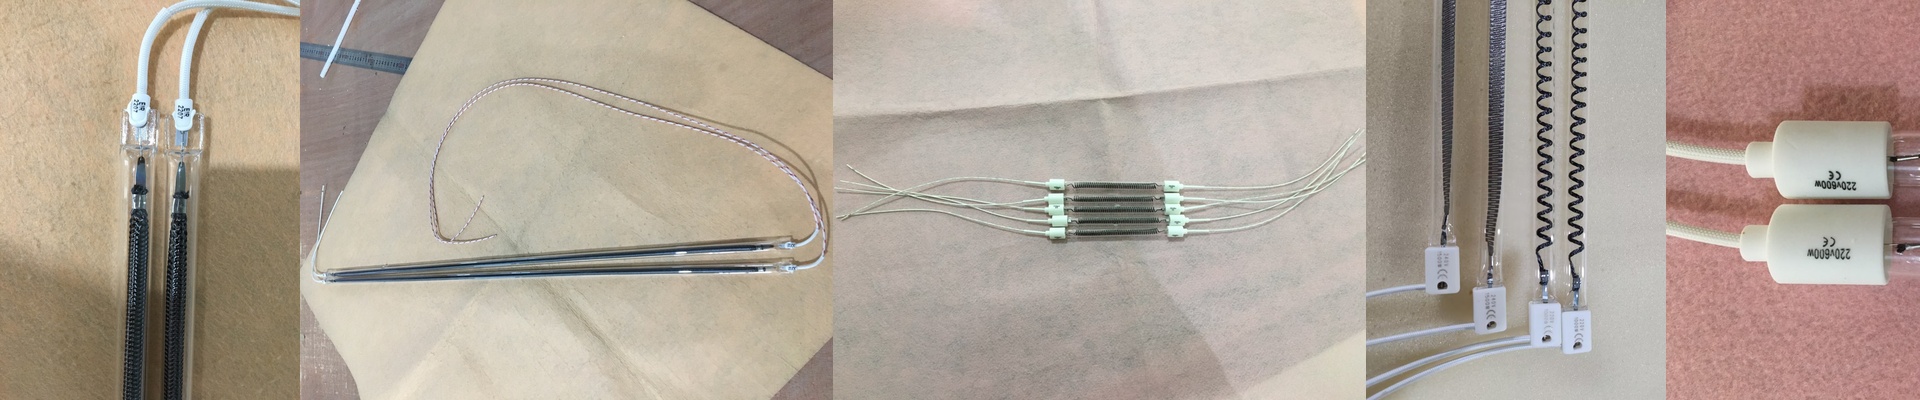
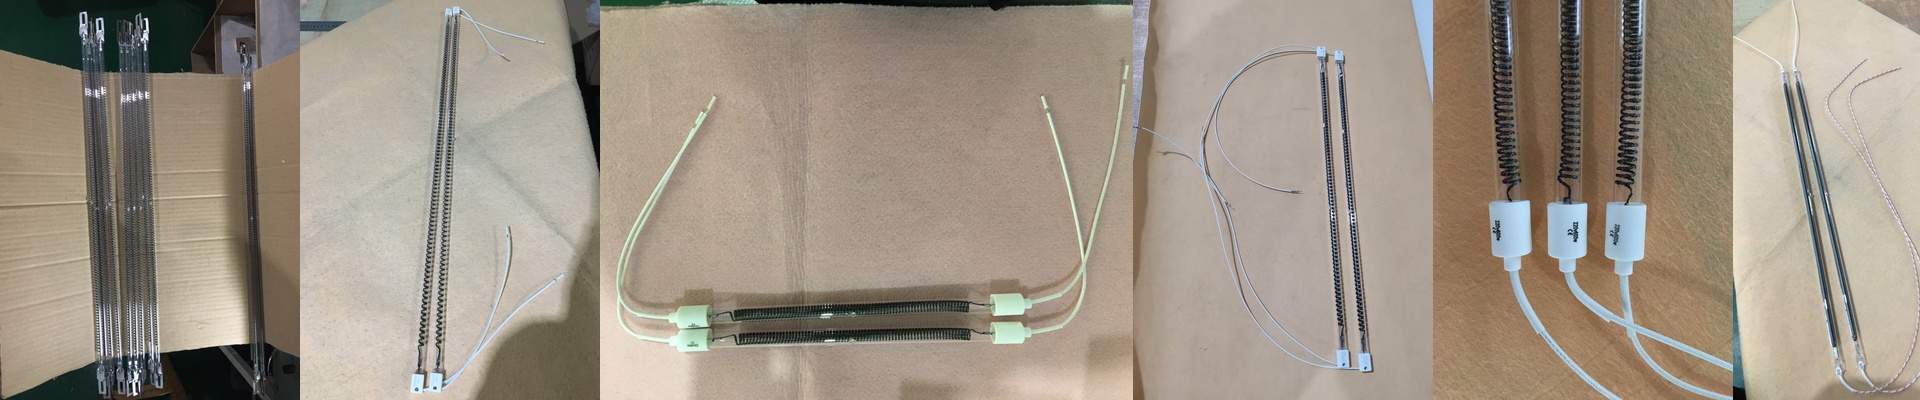
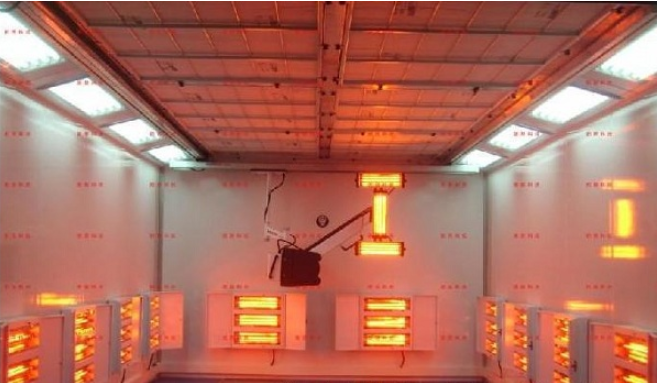
When you’re building a heating wall for brake pads, the biggest headache isn’t just getting the parts hot—it’s making sure they heat evenly. Brake pads come in all shapes and sizes. If your infrared (IR) lamps are just thrown in there without a plan, you’ll end up with scorched edges and a center that’s still cold. That’s a recipe for rejected parts. Dealing with Part Size We handle this by mapping out exactly where the lamps go based on the height of the pad. For the bigger pads, we squeeze the lamps closer together. This closes the gaps in the heat field so there are no “dead zones.” We stick with short-wave IR because it hits the surface and sinks in fast. The trick is the angle. We position everything so the heat hits the entire vertical surface at the same angle. It just works better. Power, Heat, and Not Melting Your Gear We set up these walls based on how fast you need the temperature to climb. High-wattage quartz tubes get the job done, but they put out a massive amount of heat. Here’s the thing: if you cram too many lamps into a small space to fit a specific car model, the housing is going to get scorching hot. If you don’t get your cooling blowers right, your reflectors will actually start to warp. It’s a balancing act between raw power and good airflow. Keeping it Simple to Maintain Nobody wants to rebuild a whole wall just because the batch size changed. That’s why we use modular brackets. You can just slide the lamp arrays up or down. Simple. We also keep the wiring clean. When a tube eventually burns out—and they will—you want to be able to swap it in a few minutes and get back to work, not spend your afternoon tracing wires. One last tip: while tighter spacing means more heat, it can kill your reflectors faster if the air can’t move. If you’re dealing with oversized parts, try a staggered layout. It smooths out the temperature and keeps things from getting too intense in one spot.